

How To Place A Animated Gif In A Web Banner
Introduction
It's condom to say that various ads could be found at almost any office of the Net as a whole, and the market of Internet advertisement is incredibly competitive. However, while there is a lot of data proving the effectiveness of basic image ads, animated images are also often used to attract customers, draw attending, and and then on.
Understandably enough, creating an blithe banner is slightly more complicated than creating a static one. Nonetheless, it'southward not really that complicated unless you're going into the field of complex animations that are more merely a few frames in one GIF imprint.
While animation is a relatively complex topic on its own, most of the basic principles of online ads still employ. A short and simple message would about probable practise much ameliorate than the drawn-out complex one. This is because a regular user is seeing hundreds of ads on a daily basis and you'll have to attract the attention of said user in a short snap of a few seconds – how long it would have for an average person to wait over your blithe banner.
In comparison, making an effective banner in general from a marketing standpoint is fashion harder than choosing the correct type of said banner. There are two principal banner types right now – static and animated. Yous have to keep in heed a few factors when choosing the right banner type, such equally:
- Budget;
- Campaign objective;
- Your marketing entrada's message.
For example, static ads are generally cheaper than most animated banners, which is a big factor for smaller companies. Additionally, animated ads generally have a few seconds of animation before showing your CTA, which might lose you some clicks if the message that you're attempting to convey is short and unproblematic.
When it comes to animated ads, there'southward some other selection between two different types, and those are HTML5 and GIF.
HTML5 banner ads are the newer banner type out of the two, and they are more like a small website inside of an fifty-fifty smaller container. Despite the fact that HTML5 banner loads like your usual advertisement, it consists of both images and lines of code that specify its parameters, such as timing, animations, transitions and and then on. CSS and JavaScript are used for these transitions and animations near of the time, which might make the topic of "How to create blithe banner ads?" a fleck more than complicated in comparison.
Some other benefits of HTML5 as a format tin can be summed upward in this list:
- Smaller file size
- Loftier responsiveness
- No plugins required to view the animation
- Better compression rates
- Piece of work with any devices
- Allow for spider web-based animations and transitions
GIF banners are the ones that have been used for a while now, and they represent a series of images that loop to imitate movement. The biggest downside of this format is its file size since each frame of the animation is supposed to exist a separate image. On the other paw, the simplicity of this format makes it a more attractive choice when you beginning to think nearly how to make animated imprint ads. Another specifics of GIF banners are presented below:
- Generally cheaper to work with
- Proven to have a positive effect on CTR (click-through-rate)
- Supported by a multifariousness of web publishers due to its age and popularity
- Operates well with the bulk of devices
The choice between static and animated banners is not entirely black-and-white, as well every bit the choice between GIF and HTML5. Both have their own advantages and caveats and tin exist more suitable for a specific set of circumstances. One thing is important to mention, though – despite the fact that both GIF and HTML5 are well-known on the market, HTML5 is going to push GIF into obscurity sooner or later, due to the generally more impressive result of HTML5 banner performance.
There are many unlike answers to the question of "How to make animated banners?", and our starting time instance in the list is Photoshop, to no one's surprise. The vast amount of capabilities that Photoshop provides allows it to not only take a myriad of image editing tools, but to besides handle simple animation editing, which is what we'll be going over below.
Hither is our step-past-step guide on how to create an animated GIF imprint using Photoshop:
- Kickoff of all, you'll need a base of operations file to work with. Creating a new Photoshop document or using a template is the commencement step in this procedure. When creating a document yourself, you lot'll have to input the right dimensions of your ad, although yous don't demand the resolution parameter to exist likewise high so that your GIF tin be a chip less in size overall.
- Just as with the regular banner, you should have a background of sorts for your ad, be it an image or a solid color. Remember that the Transform mode (Ctrl+T or Command+T) tin be used to reshape the image and then that it fits your banner'south dimensions.
- Next, you'll have to add your call to action (CTA) to your banner. It tin exist in many different shapes, including buttons with text, arrows, and then on. For example, if your CTA is a push, y'all'll have to use a Shape tool (a square on the toolbar) and cull the correct choice earlier clicking and dragging with the tool to create a square with the correct dimensions. Go on in heed that yous can still change the outline color and the background color of your button after creating it.
- Another function of your CTA is to add a text field over your new push, simply you have to create it on a new layer for the sake of easier blitheness in the futurity. Input the text bulletin in the field later, it should be as short equally possible (Some examples of those are "Purchase at present!", "Available now!", and more).
- That's not to say that your CTA must exist your only piece of text in the ad, far from it. In fact, you'll have to specify the cause for your CTA using another text box. For example, it can exist a sales information, or a special offering information, or anything else. Aforementioned as your CTA, your message should be as short and to the betoken every bit possible.
- Getting to the bodily animation, at that place are two ways of working with it. The older Animation panel/mode, and the newer Timeline mode. The former is all the same like shooting fish in a barrel enough to use if you don't need annihilation more than a few frames of animation at nearly, and the latter is more focused on working with sophisticated animations and might seem complicated for the uneducated people. In this guide we'll be using the Animation fashion first.
- Blitheness console can be opened past going to the Window carte and clicking the Animation option. This activity would open the animation console at the bottom of your screen, and you'll be able to starting time animating.
The specific animation sequence nosotros're aiming for in this example is for the main text to slide into the view and for the CTA with the push to appear at the last frame of the animation. We can do that in as much as v frames of animation.
- As the default action, your beginning animation frame would already exist created and selected, all you lot accept to do is to toggle all of your additions to the banner bated from the groundwork flick to be invisible.
- Next, you'll have to create a new animation frame in the lower bar. In this case, nosotros'll be making the chief text visible and slightly shifting it so that only a part of the message is visible (it'south best if the text in question ends with a statement, for case "Concert tickets are at present -50% OFF!" – that way, the terminal line with the "...-fifty% OFF!" would be the get-go thing that can be seen by looking at your banner). To further solidify this effect, we can drop the Opacity option downward to 40% (Opacity can exist changed inside the "Layers" tab).
- To brand the chief text look similar it'southward actually moving, we need at least three frames with different positions (including the one we only created). Now we'll create a frame #three, in which nosotros'll shift the position of the text fifty-fifty more than towards where it'll be at the end, simply non quite there enough. The opacity in this case should be around lxx% if we also want the "fade-in" effect to exist visible.
- Frame #4 is the last frame of our "moving" main text, in which nosotros're moving information technology to the final position with the opacity of 100%. Information technology should be noted that this is non the last frame of the animation equally a whole, and thus both the CTA and the button should non be visible still.
- Frame #5 is the last slice of our blitheness puzzle, with all parts of it visible, including the CTA and a button. This is where we're done with the frames themselves and offset working in the timings of the animation.
- At this indicate y'all might notice that each of your frames has a line that says "0 sec" underneath the frame in the Animation bar. This is the timing between frames, and you tin change it however you see fit. To have a baseline of an animation that we were looking for, we're setting the starting time 3 of our frames to "0.1 sec", the frame #4 to "0.5 sec" and the last frame to "2 sec", allowing united states to have an blitheness that is less than iii seconds long and has both a drop-downward text and a push button with a CTA included.
- (Improver) You can play the blitheness itself using the "Play" icon at the bottom of the animation panel (A blackness arrow pointing right) and suit the timings if you lot feel like our example does not fit your requirements.
- Saving your blithe banner the right manner is also a crucial role of the process. Use File > Save for Web & Devices for the saving window to appear and don't forget to select the "GIF" as a file blazon in the second drop down menu from the summit. Click "Salve" to finish the procedure.
The "Timeline" style is mostly similar to the "Animation" mode, with the same design of the "Blitheness" bar that is now the "Timeline" bar. It does permit for more versatility in some cases, just the general list of instructions for the animation as unproblematic as the one above would stay mostly the same.
Photoshop is a not bad multifunctional platform that offers an incredibly vast prepare of features, including animation. Our instance above is relatively uncomplicated, simply you e'er tin can animate more and brand more frames, but retrieve that the attention bridge of a regular user is short and there are a lot of ads in everyone's daily lives, so you lot have to either draw attention to your banner immediately or to brand it as curt equally possible, or both.
Of course, Photoshop is not the only animated banner maker on the market, there are too many others, both standalone apps and online services. We'll first with a standalone app chosen GIF Banner Designer 5.0.
GIF Banner Designer is a solution that has banner making as its prime function, mostly for people that deem Photoshop too complicated and overwhelming. It can piece of work with both static and dynamic banners and includes a lot of templates for different advert sizes.
Here'southward an overview of the features that GIF Imprint Designer is capable of providing:
- Your startup screen gives you the power to create a new file immediately past choosing the template from the list. At that place are many different templates for different advertisement standards, and there'southward also an option to input your own dimensions.
- Next yous'll accept to cull a background prototype or color to start off the editing procedure.
- Adding objects to your banner is a normal part of the process, and y'all can also use the "Properties" tab to change the parameters of each of the objects within your imprint.
- Boosted tabs are also available almost the "Properties" one, you tin use those to customize the effects of your banner ("Furnishings" tab) or to make animated transition effects ("Transitions" tab).
- Aside from the "drag-and-driblet" feature, y'all tin can as well use the "Banner" menu to add diverse symbols, buttons and shapes to your banner.
- Additional changes to the banner as a whole are possible via the left carte du jour of the software, similar to the ane that Photoshop has. It includes features like colour adjustment, flipping the prototype, cropping the image and then on.
- After making all of the necessary customizations, it'due south heavily recommended to use the File > Salve As option to save the banner in the GIF format.
Y'all might be wondering: "How to brand a GIF imprint using this tool?". The truth is, both the interface and the working principle of GIF Banner Designer are like to the 1 that Photoshop offers, and thus the process is mostly similar, as well. And this slice of software is not the just option, eithe in that location are a lot of alternatives when it comes to animative something, particularly if you don't need complex animated sequences.
Speaking of less complex animated sequences, there are a lot of different online banner editors that have the power to create animations for your banners. The specific gear up of possibilities differs from ane platform to another, which is why we'll list several of them with the focus on how each of them handles animation-related tasks. If you're asking "How to make animated banners online?" – this is our top 7 of such platforms and services:
- BannerBoo
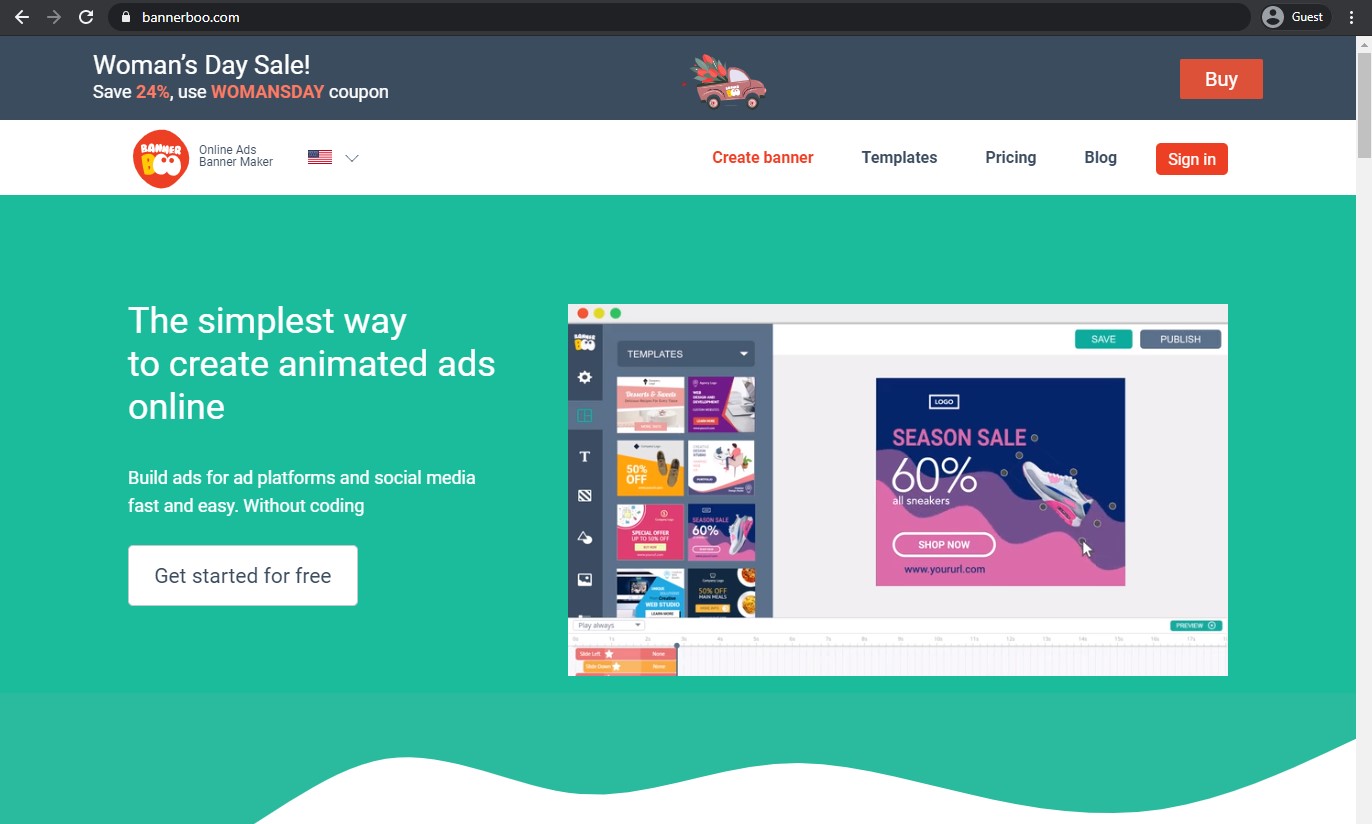
BannerBoo is a great example of a free online blithe imprint maker with a lot of functions available. There are a lot of different file formats that are supported, the congenital-in library of templates and objects is vast and varied, and it'due south easy to work with more circuitous animation pieces thanks to the convenient interface and a unique-looking animation interface.
- Ezgif.com
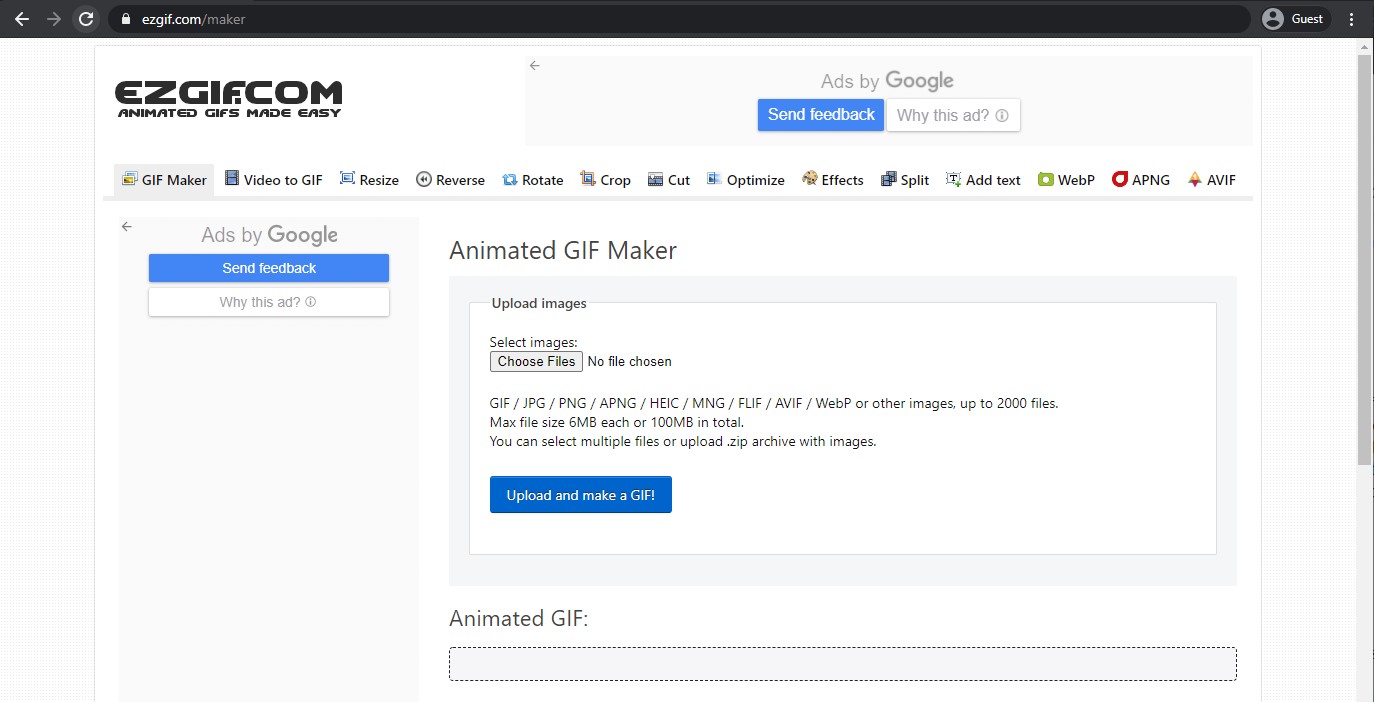
Ezgif.com is a relatively different example of a service that can handle animated GIF banners. Information technology is a website that hosts multiple unlike features, such equally cropping, rotating, resizing, and and then on, and its ability to work with GIFs is severely limited. As it stands, this tool can only piece of work with preexisting images, arranging them together with specific delay intervals, and barely anything else. It does still work for simple animations, only annihilation bigger than a few frames would have problems with this service.
- Canva

Canva, on the other paw, is more of a full general image editor and less of an animated banner creator. There are several animation-related options included in the package, such as transitions, timings, animated objects and such, but there's no timeline redacting per se, and thus it tin be used to just create some of the basic transition-based banners.
- Creatopy
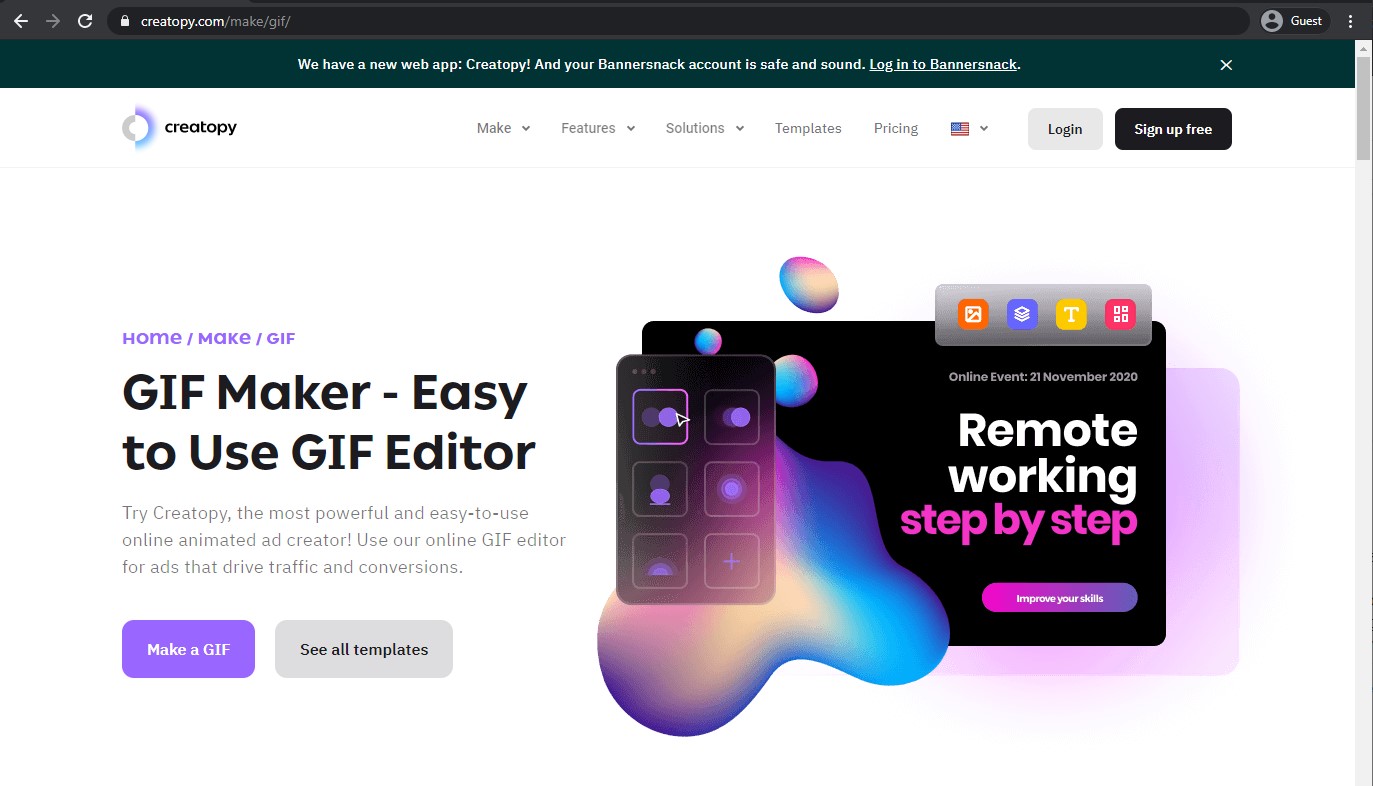
Creatopy, unlike the previous example, is a much more versatile tool when it comes to animation. Bated from being a versatile prototype editing platform in general, Creatopy offers both the ability to work with a timeline of your blitheness in a similar pattern to the Photoshop (although with its own design for the animation panel), and there are likewise several different presets that can exist practical to all of your banner elements at once (replacing previous settings altogether). That way, animation tin can be done by both skilled advertisers and newbies in the field.
- OnlyMega
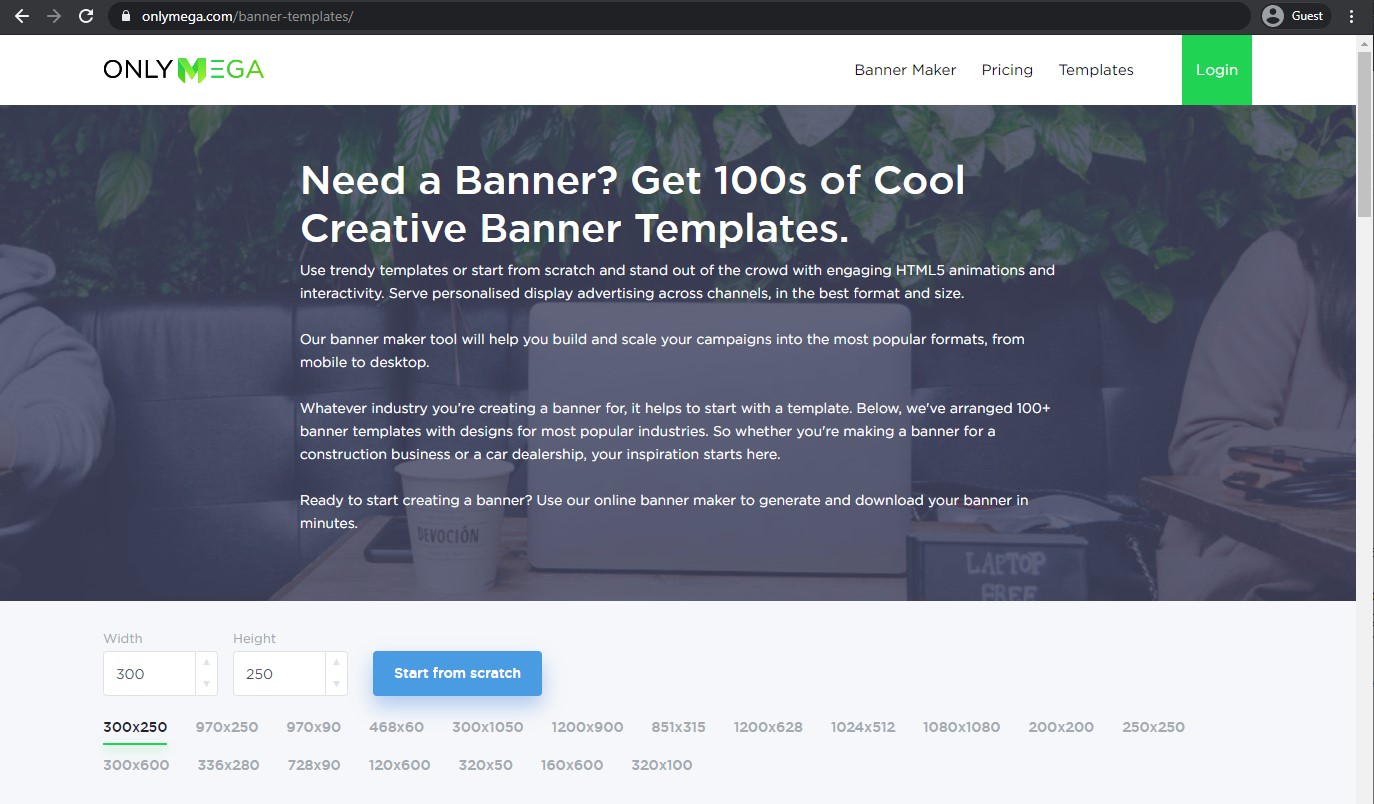
Some other interesting accept on the online GIF banner design is OnlyMega, focused more than on the animation and less on the bodily prototype editing every bit a whole. This platform offers the widest range of features bachelor out of all of the previous examples, assuasive users to create circuitous animations using the easy-to-use timeline and many different additional objects, shapes and settings.
- Imgflip
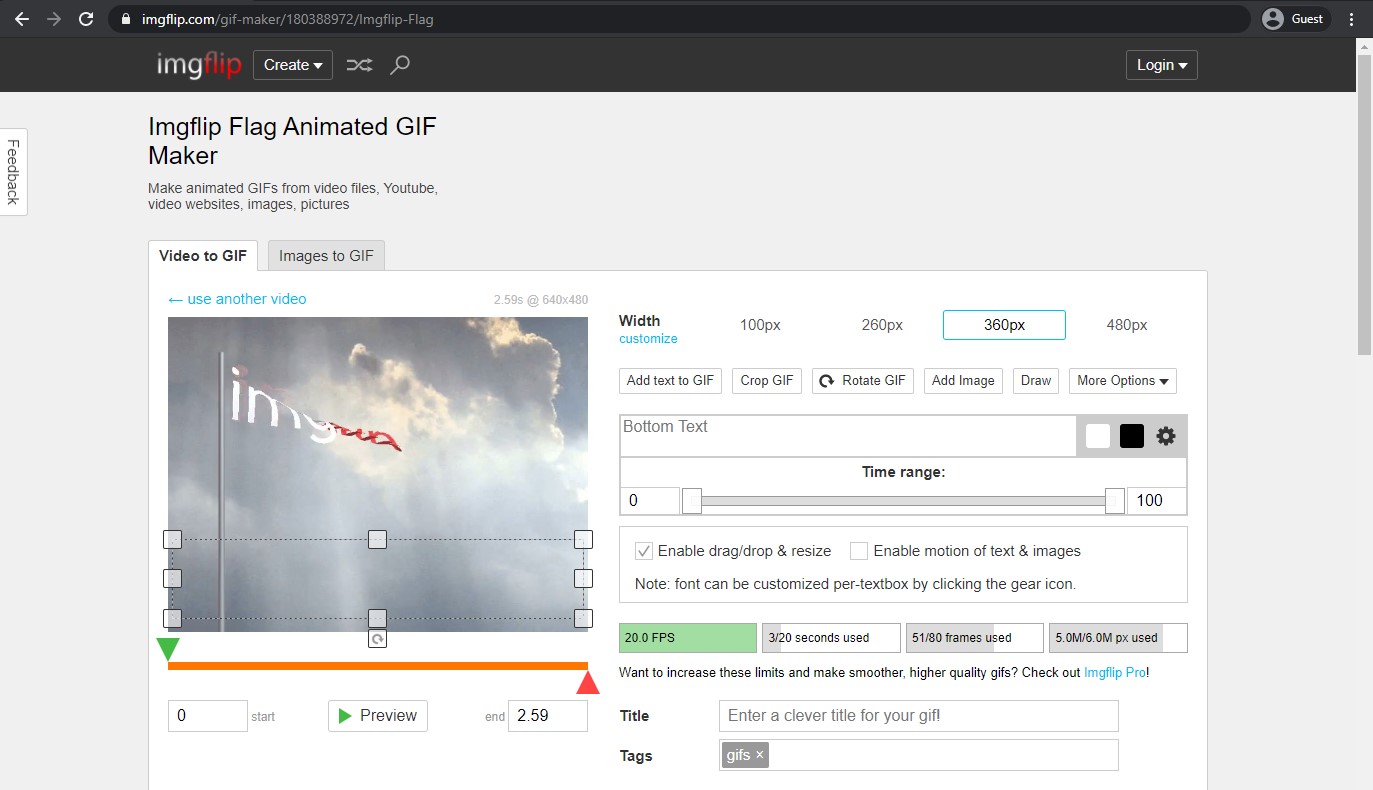
Imgflip is another case of a blank-basic GIF editing tool, although this 1 is a flake more than versatile than the Ezgif, assuasive for better delay customization, text adding and somewhat more than user-friendly interface. Unfortunately, it still works on a principle of animating transitions between solid images, so the creativity of this tool is also heavily limited.
- Viewst

Another case of a successful tandem of a versatile prototype editing service and a convenient set of blitheness features, Viewst offers a comprehensive platform for prototype editing and animating with a wide range of features. Its animation capabilities are as well noteworthy, with an easy-to-use elevate-and-driblet timeline, easy blitheness editing and many other features to make the best animated banners out there.
Determination
While blithe banners are slightly more than complicated than the regular ones, their effectiveness is also impressive, grabbing the viewers' attention in the matter of seconds. There's no point in avoiding using animated banners, especially with such a wide range of options for GIF editing available on the market, including both online and offline appliances, as well every bit standalone services and circuitous paradigm editing platforms.
Source: https://viewst.com/how-to-make-animated-gif-banner/
Posted by: grahamuncin1992.blogspot.com
0 Response to "How To Place A Animated Gif In A Web Banner"
Post a Comment